Reprinted from 2023
Here’s a clever little spring craft using wood shims, some glue, paint, and a little faux greenery.
Make yourself a cute bundle of carrots that won’t go bad even if you forget to put them in the root cellar come fall!
Display them on your table - or wherever you think they may work to attract an Easter Bunny delivering baskets full of decorated eggs, chocolate candies, and marshmallow peeps!

Supplies:
1 package of wood shims (12 count)
White (school) glue, wood glue, or hot glue
Rubber bands
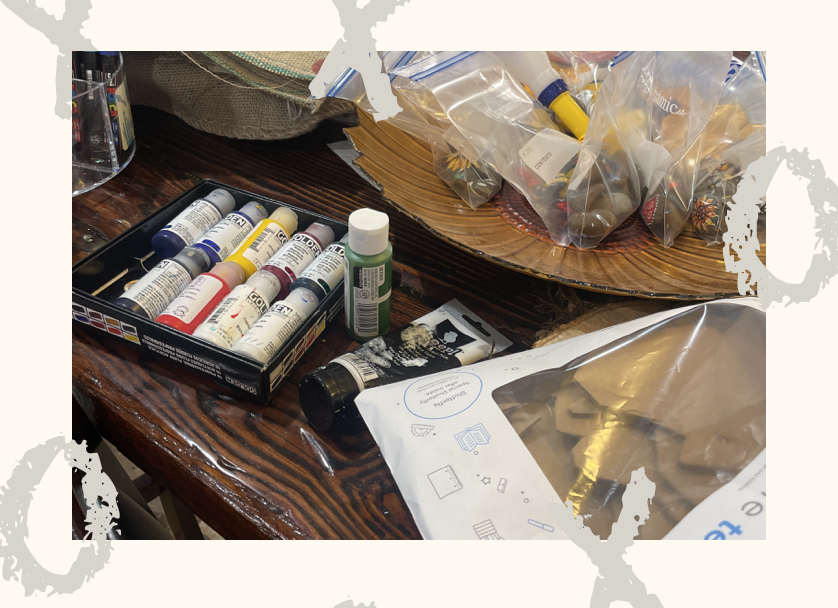
Craft paint
Faux greenery
3 small nails or tacks
Twine or Ribbon
The beauty of this craft is that after you get your shims and greenery, you can use whatever you have on hand to pull the project together. The crafter that shared this with me says she had everything (including the shims) in her craft or home supplies but encourages everyone to put their own spin on things. Pastel, polka dot, or striped carrots? Yes! Make them your own!
Steps:

Begin by gluing four (4) shims together to make a “carrot” shape - wide portion of the shim at one end, narrow portion at the other. If you’re using a liquid glue, bind your carrot together with rubber bands or other binding until it dries. Repeat using all 12 shims to make 3 carrots.
Paint your carrots. Follow your own style sense here. Make ‘em traditional, modern, or whimsical. You’re in charge.
Add some carrot “tops”. One Dollar Tree sprig of greenery was sufficient for the 3 carrots pictured. Maybe you’d like to use dried grasses or other foliage? Again, you’re the boss.
Attached the tops either with hot glue, a short nail, or a long tack - however you can get them to stay in place.
Tie some twine or ribbon at the top if you’d like. (If you don’t want to, you don’t have to!)
Display and wait for Easter morning to see if Peter Cottontail took the bait!