crafts

Cinnamon-Applesauce Hearts

Facetune_02-02-2021-22-07-02.JPG

Republished from 2/21

Years ago, my mom delivered a Valentine's package with a deliciously scented heart ornament dangling from the bow.

It was a cinnamon heart, strung with a satin ribbon - and even after the scent had gone, it hung from a kitchen cabinet handle for many more years delighting me with fond memories.

This old recipe, requiring only two ingredients - ground cinnamon and applesauce - might traditionally be used to make Christmas ornaments, but since my mom pressed it into heart shapes, in my mind, it's best suited to Valentine decor.

You won’t believe the incredible cinnamon smell that fills your home while these are baking - and how lovely it will be for days (weeks) to come when you walk into a room where one of them is on display!

Cinnamon can be expensive if purchased in those tiny containers at the grocery, but if you have a big-box store like Costco, WinCo or Cash & Carry nearby, you can pick it up a large container relatively inexpensively. Increase or decrease the recipe depending on how many hearts you want to make, using a 1:1 ratio.

Ingredients:
(makes about a dozen cookie cutter hearts)

Screen Shot 2021-02-02 at 7.57.11 PM.png
  • 1 cup Cinnamon

  • 1 cup Applesauce

  • Thin ribbon or twine

Instructions:

  1. Thoroughly mix the cinnamon and applesauce together in bowl. It should have a thick, paste-like consistency and hold together well - not too dry, not too wet.

  2. Place between two pieces of parchment or waxed paper, and roll out to about a 1/4 inch thickness. It will break if too thin, and will take longer to bake if too thick.

  3. Take the top layer of paper off and use cookie cutters to cut into shape.

  4. Use toothpicks to decorate and a straw to make the hole for hanging.

  5. Move hearts onto a cookie sheet.

  6. Bake at 200 degrees for about two and a half hours, until they feel dry and hard.

  7. Once cooled, thread ribbon or twine through the hole and make a loop.

Dangle from a Valentine’s package, gift a grandparent, teacher, friend, or hang in your home for some Valentine’s love, some winter cheer, and a fantastic cinnamon scent!

And yes, go ahead and use the recipe during other seasons and cut out other shapes - acorns and leaves in the fall, snowmen and snowflakes for your Christmas tree… it’s all fair game!

Delilah Logo.png


Building Happy Families with Annie's Kit Clubs

I’ve found a new friend and ally in Annie’s Kit Clubs!

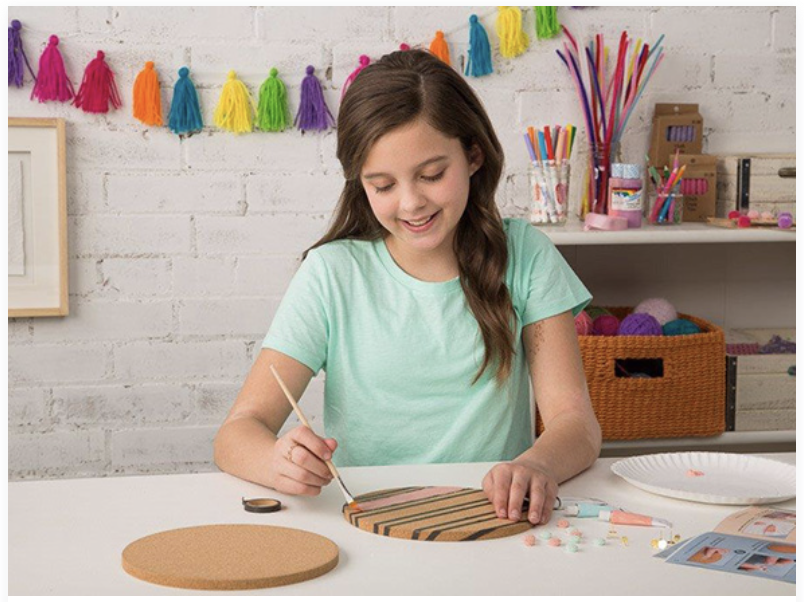
Summer is winding down and soon we’ll all be spending more time INDOORS than we are outside. I’m so glad I have Annie’s Kit Clubs packages arriving regularly! With crafting kits for every member of the family, it’s one more reason to avoid screen time, and make something we can be proud of instead!

Annie’s is a subscription service. Sign up and receive craft kits in the mail on a regular schedule. They have something for every member of the family and every interest; textiles, knitting & crocheting, paper crafts, beading & jewelry, woodcrafts… There are subscriptions tailored to a huge variety of skills and interests and many seasonal projects too!

Screen Shot 2021-05-07 at 4.00.53 PM.png
SEPT ANNIES PICTURE 1.jpg

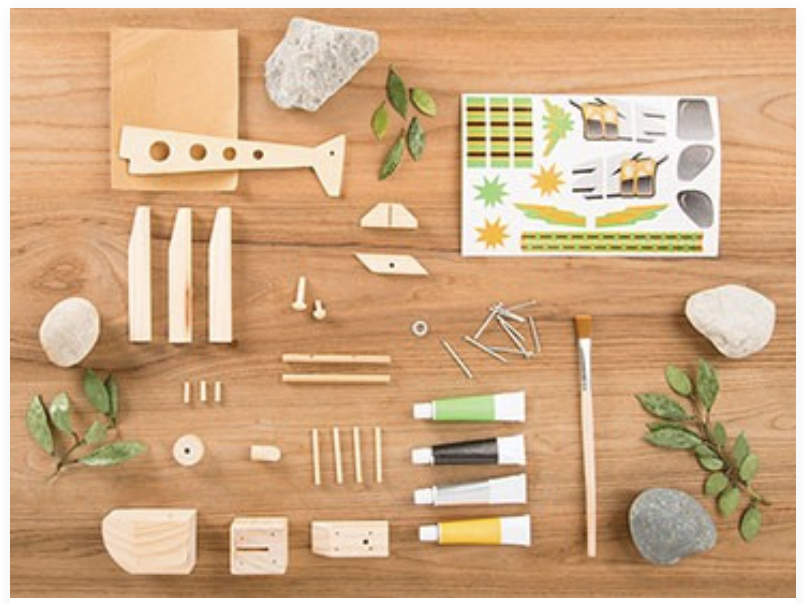
I’m especially fond of their Young Woodworkers Kit Club - a woodworking craft kit series designed for children from 7-12 years of age. Paul Adam is still a little young but he can complete many of the steps with a helping hand from me, Papa, or his older sisters.

He feels so proud when he’s finished a project - like this catamaran destined for the duck pond - and I know he’ll carry a love of woodworking and the skills he’s learning well into adulthood.

This fall is a great time to get back into something you once loved or try something new. Kits are delivered to your door with all the supplies you need to get creative.

Check out Annie’s Kit Clubs and the incredible crafts they have to offer HERE
and receive 75% off your first Young Woodworkers Kits
with the promo code “RADIO.”

Christmas Craft | Spiced Candle in a Jar

Screen Shot 2020-12-02 at 12.37.05 PM.png

My granddaughter, Nadia, is the source of inspiration for this crafty blog post! Her mama, Riely, is an incredible talented maker, and a hands-on kinda mom who’s been doing a terrific job of coming up with interesting and fun home-school activities that reinforce curricula.

Here’s a lovely little project they completed recently that Nadia shared with me. I’m hoping to find a sample of her efforts under my tree on Christmas morning, and think it’s a terrific activity for adults and big kids alike!

It’s super simple, yet oh-so-elegant, and a wonderful way to fill a home with beauty, light, delightful scents, and love - so much goodness in a little canning jar!

(Candle-making kits, like the one shown, can be found in craft-stores and on-line.)

Supplies:

Screen Shot 2020-12-02 at 12.49.38 PM.png
  • soy-based candle wax

  • a melting vessel, stir stick

  • essential oils

  • aromatic herbal tea of your choice
    (like Bigelow Tea - one of my 12 Stocking of Christmas Sweepstakes prizes!)

  • small jelly-sized canning jars with lids

  • candle wick & wick tool (a pencil or cooking skewer also works)

  • twine or ribbon for decoration

Directions:

  1. Assemble your supplies

  2. Put down newspaper or craft paper to protect your work space.

  3. Follow package directions to melt the candle wax (a tried and true family method is placing the wax in an old tin can, and placing the can in a pan of boiling water - don’t let the water come up and over the tin can.)

  4. Scoop a few teaspoons of aromatic herbal tea into the melted wax.

  5. Add a few drops of essential oils to the mix - more for lighter scents, less for heavier. Stir well.

  6. Attach a measure of candle wick to your wick tool, (or tie it to a pencil or wooden cooking skewer.) Hanging length should match the height of the jar you are using.

  7. Pour wax into little canning jars, suspend the wick in the center of each, resting the wick tool, pencil or skewer across the top of the jar.

  8. Allow to set.

  9. Release the wick from the tool (pencil/skewer,) and trim to about 1/2 inch above the top of the candle.

  10. Place the lid on the candle, tie a piece of ribbon or string around the jar and label as you wish.

  11. Gift away!

Screen Shot 2020-12-02 at 11.56.48 AM.png
Delilah Logo.png


and Nadia!